
Alright, listen up#
VSCode? That’s cute. But Neovim is for those who know what’s up
What did you say?#
“I don’t know what is neovim ???”
Literally, Neovim lets you be the cool-looking guy behind the terminal. It’s a text editor inside the terminal that you can customize to your liking. But since being a developer nowadays isn’t just about what you create but also about the tools you use, Neovim is the way to go.
If you want to know more about Neovim :
Vim-fork focused on extensibility and usability
Now that we have that out of the way#
If you are lazy like me, I’m here to help you getting started with a pre-configured Neovim setup. I have been using NvChad and tbh, it’s really good.
- Easy to install
- Easy to customize
- Easy to use (if you know how to use Neovim but still)
But to be fair, you are not ready to read some docs and spend a bit of time setting up your Neovim, you can just use VSCode but you know…
Blazing fast Neovim framework providing solid defaults and a beautiful UI, enhancing your neovim experience.
The TUTORIAL (finally)#
What I’ll be doing for the next 10 or 15 lines is to follow the official documentation of NvChad. But since you are to lazy to click on the link, I’ll just explain it here again for you.
Prerequisites#
1. Neovim 0.10#
I’m using MacOS, so I’ll be using Homebrew.
brew install neovim
It is the safest way to install consistently the latest version of Neovim but at the time of writing, brew installs 0.10.1 and as I’m not satisfied with it, I installed Neovim by source.
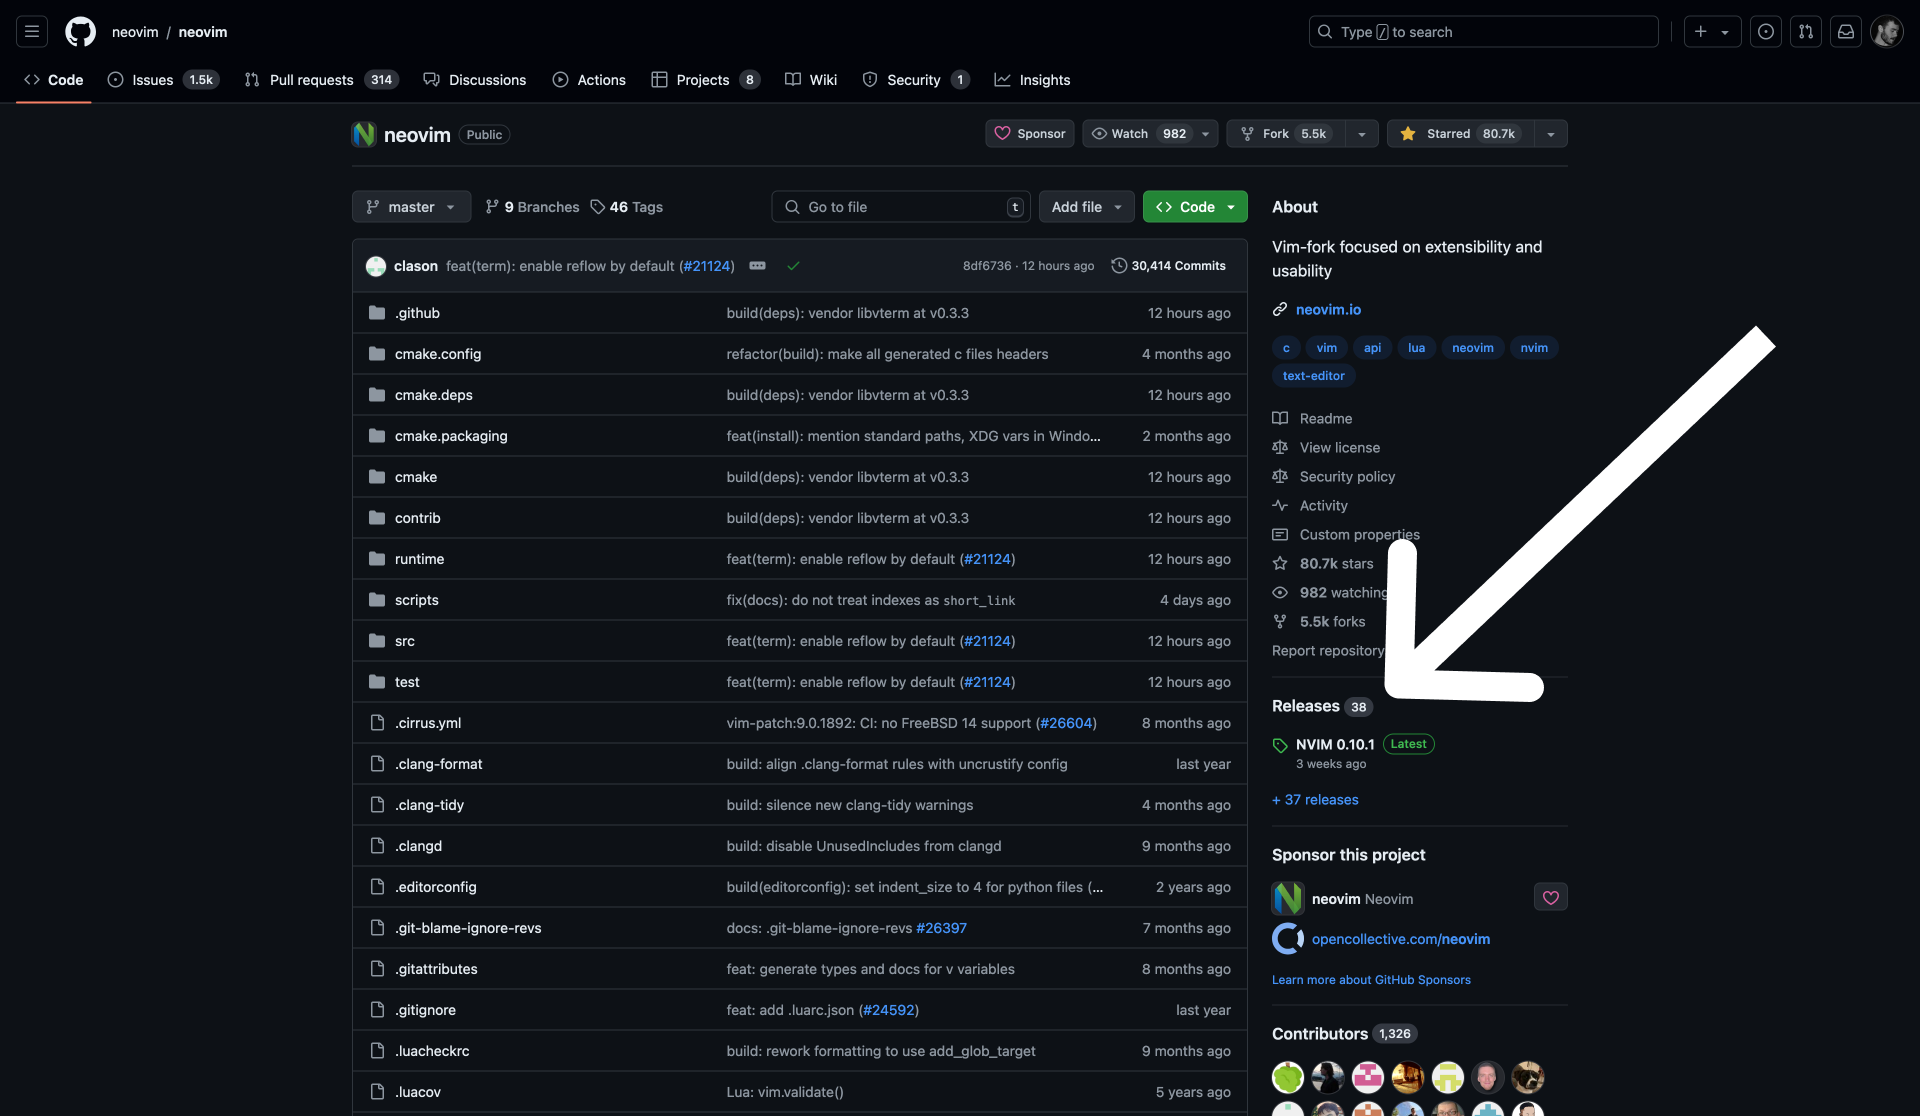
To do that, go to the repo
Vim-fork focused on extensibility and usability
Go to releases and look for the 0.10 version
Download the correct zip file for your architecture below
Assets(you may need to unfold the assets to show the zip files)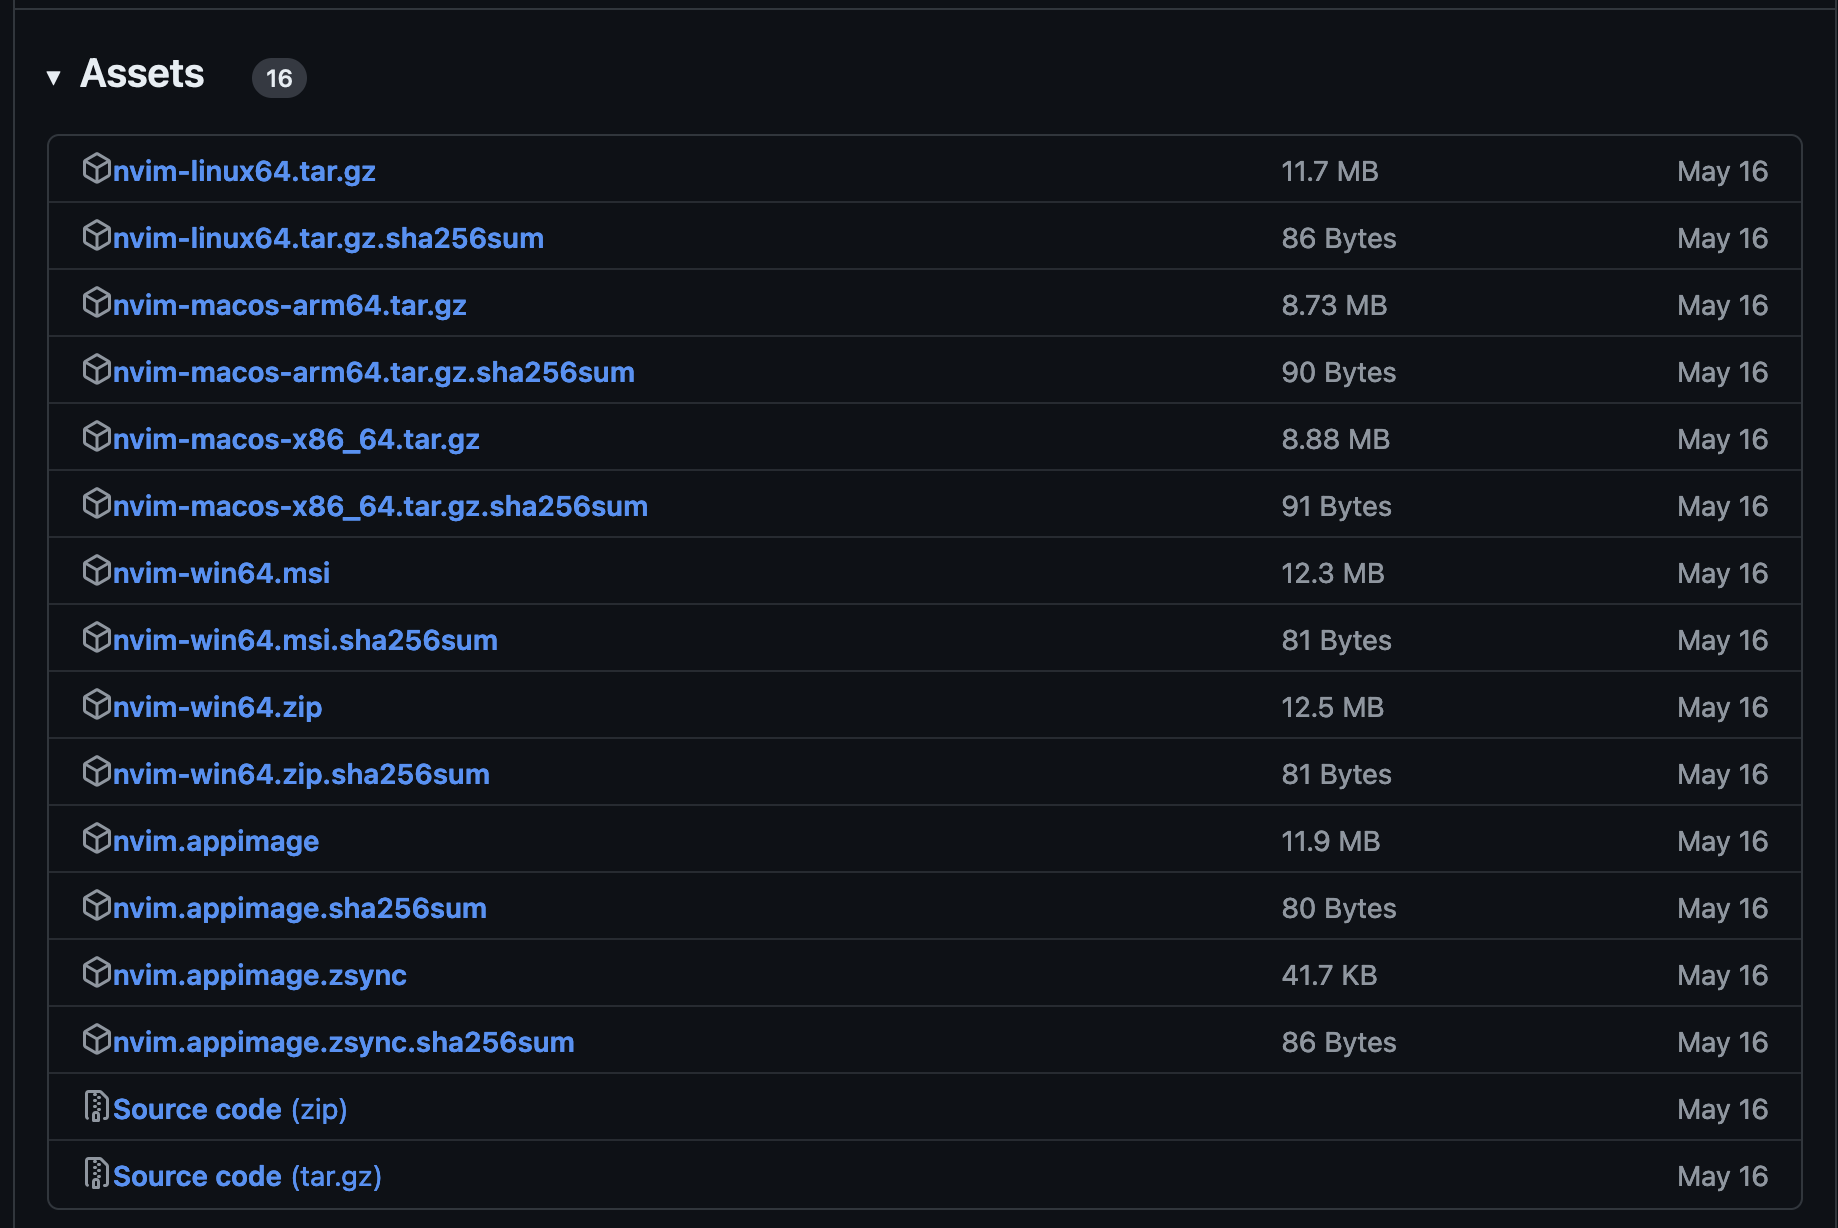
Run the commands detailed in the
Assetssection of the release page for your OS# For MacOS xattr -c ./nvim-macos-x86_64.tar.gz tar xzvf nvim-macos-x86_64.tar.gz mv nvim-macos-x86_64/bin/nvim /usr/local/bin/nvim # move the binary to the bin folder rm -rf nvim-macos-x86_64.tar.gz nvim-macos-x86_64 # clean upCheck on Neovim version
nvim --version
2. Nerd Font#
You will have a Code editor in your terminal, you have to make sure that you have a font that supports the icons. I’m using JetBrains Nerd Font (just ctrl + f in the page and Download the font).
Again, I don’t know for other OS but on mac just open your Font Book and add the extracted font folder.
To set it in your terminal, go to your terminal settings and go to profile > text > change the font to the one you just added.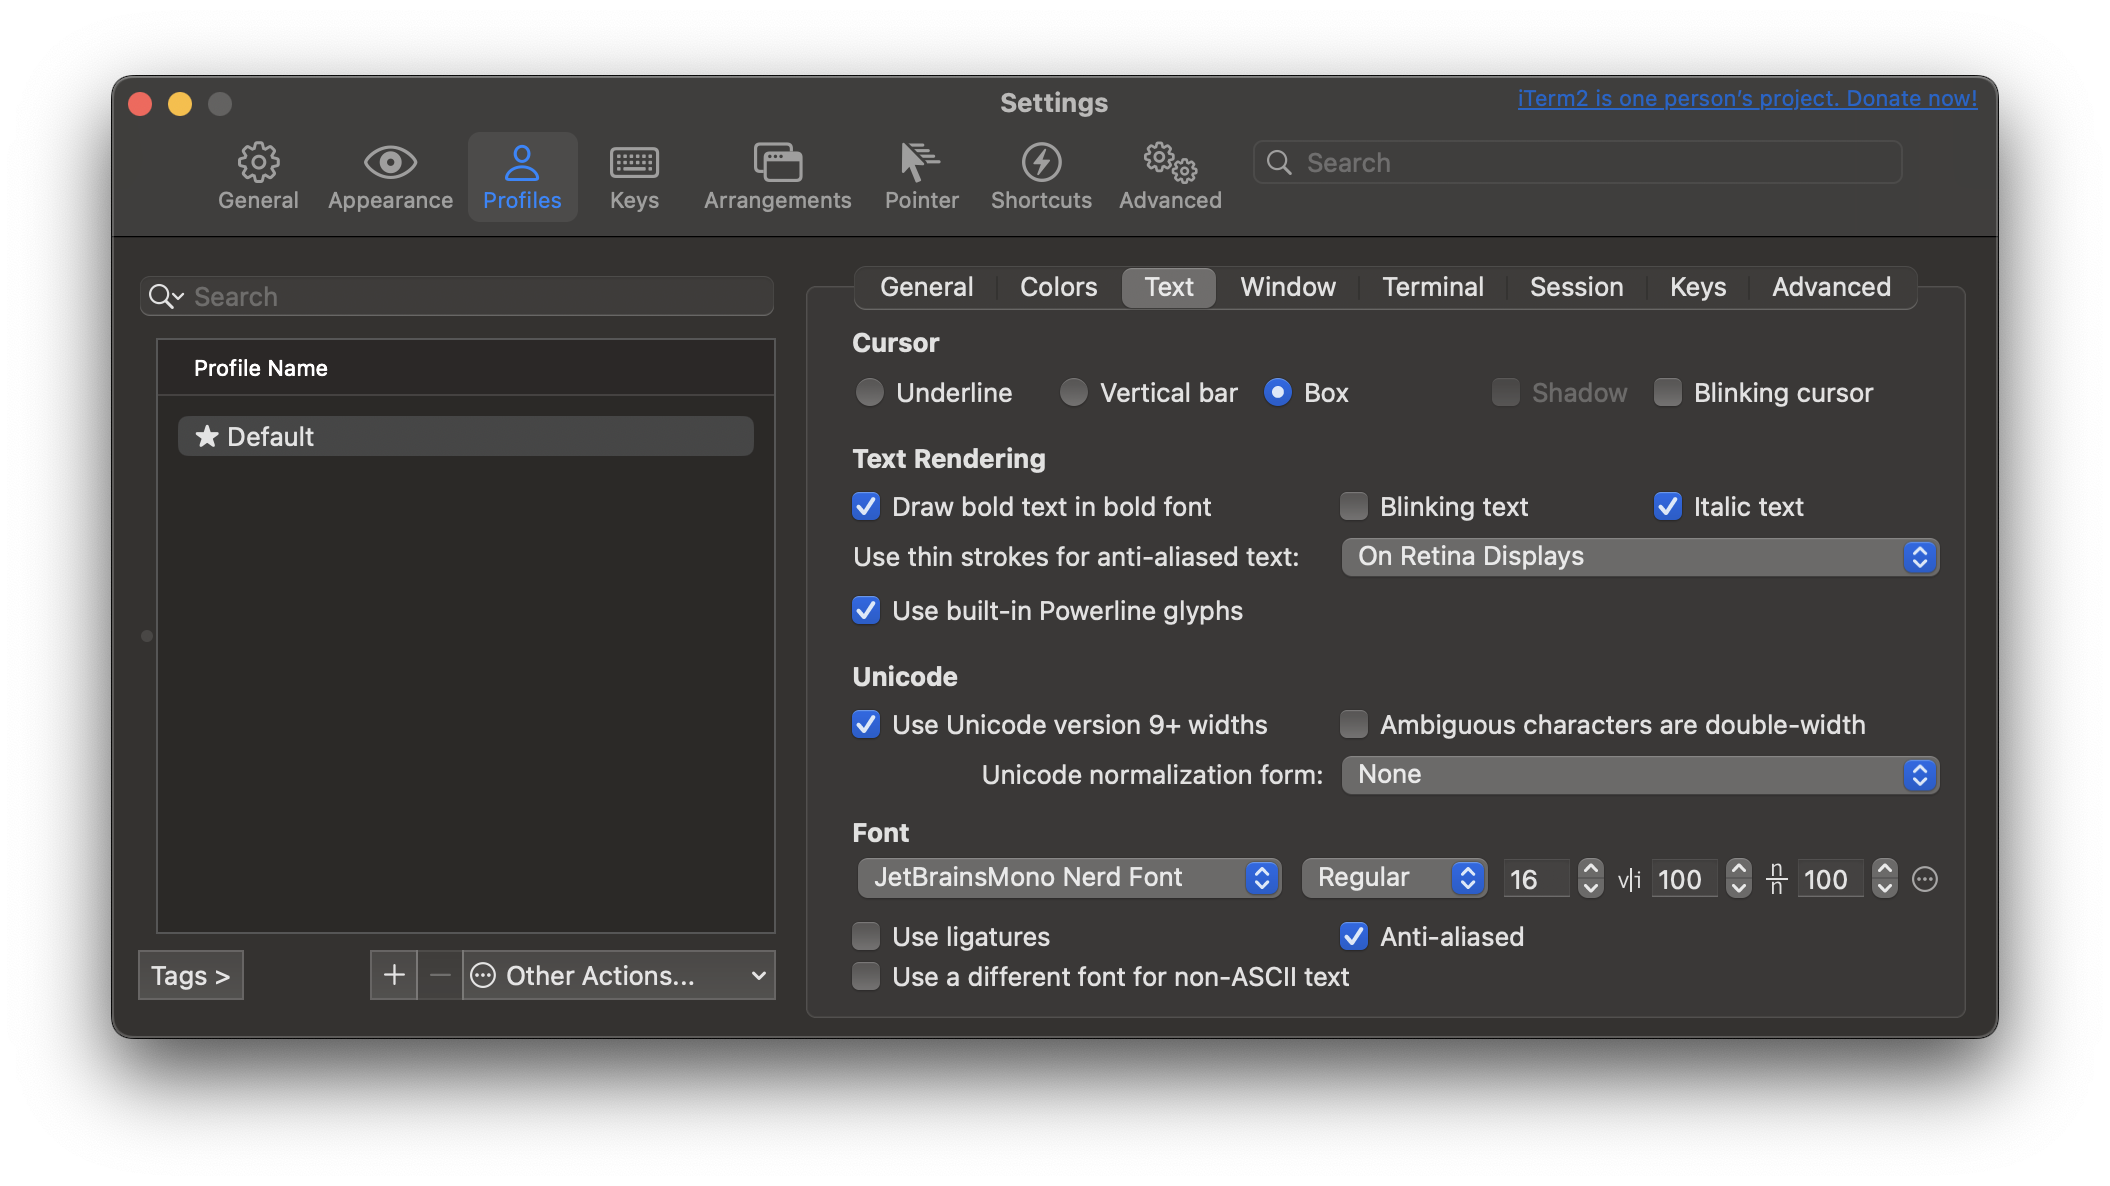
Time to install#
“How do I back up my Neovim config ??”
There you go:
cp -r ~/.config/nvim/ ~/nvim-backup
Or if you want to erase it:
rm -rf ~/.config/nvim
rm -rf ~/.local/state/nvim
rm -rf ~/.local/share/nvim
Ok, now that you have backed up your config, let’s install NvChad.
1. Clone the repo#
Quoting the official documentation:
NvChad's starter repo is the actual config and it uses the main NvChad repo as a plugin
git clone https://github.com/NvChad/starter ~/.config/nvim
To run your NvChad config just run nvim in your terminal and let the magic happen.
2. Mason#
Mason is a plugin for Neovim that makes it easy to install, manage, and update external tools, such as language servers, formatters, and linters.
Run :MasonInstallAll after lazy.nvim installed every plugin.
3. Delete .git folder#
rm -rf ~/.config/nvim/.git
You have now a bare NvChad setup. So from now on, you can customize it to your liking and share your config with others inside a repo. My advice on getting better at Neovim is to practice commands and shortcuts using VSCode Vim extension, it’s a good way to get started.
Conclusion#
I hope you enjoyed this tutorial and that you are now ready to use Neovim. If you have any questions, feel free to ask me on Twitter Just remember that the most important thing is to have fun and to be productive.
So, don’t spend too much time configuring your editor, JUST USE IT ……..
